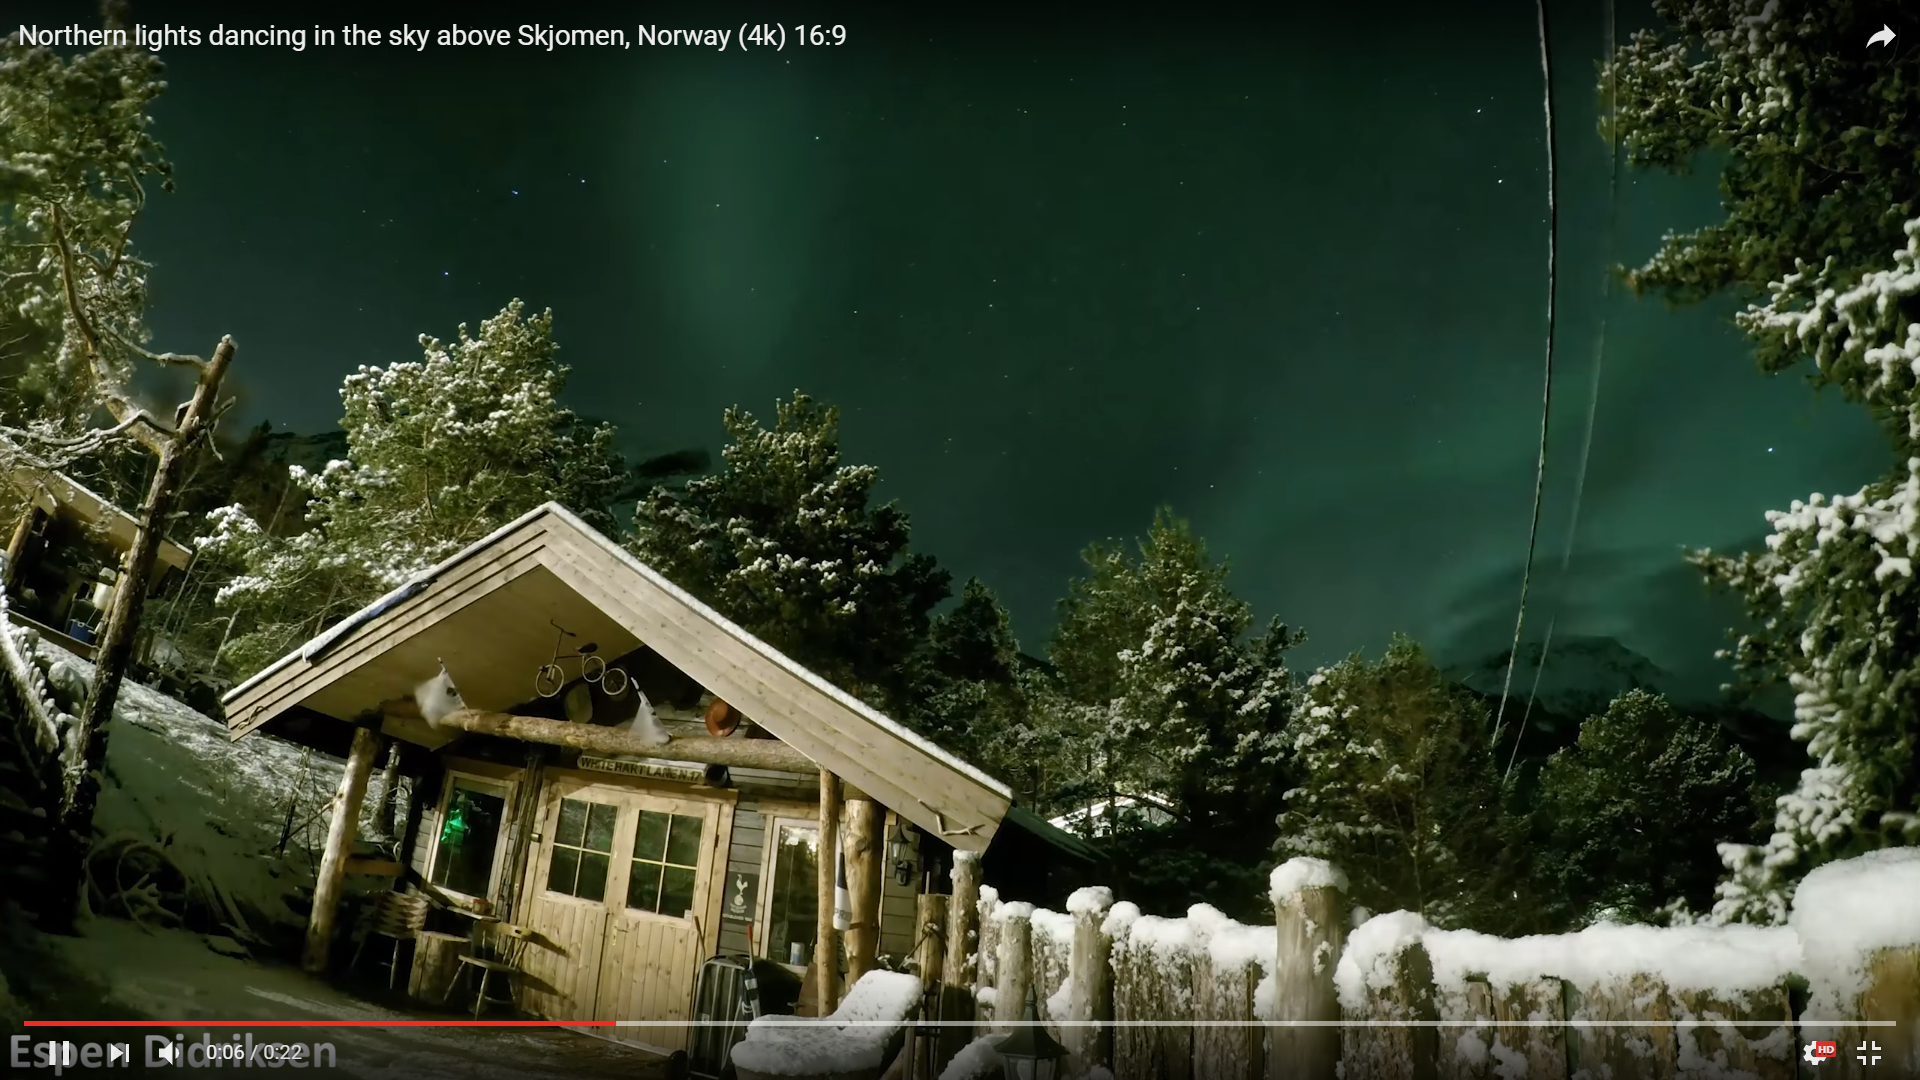
YouTube uses a 16:9 aspect ratio for their player, which means that a video with an aspect ratio of 4:3, 3:2 or any other than 16:9 will be displayed with black boxes on top and bottom or on the left and right side (see examples below). Since the GoPro and many other cameras take pictures that are in a 4:3 ratio, this means that time lapse videos compiled from still images will appear with black boxes on the left and right side when uploaded to YouTube.
The most straight forward way of converting from 4:3 to 16:9 with Premiere Pro involves cropping the images, which means that you will lose parts of the images. This may or may not be a problem, but there is no doubt that 16:9 looks better on YouTube. I learned this trick from a YouTube tutorial.

Changing from 4:3 to 16:9:
- Add the video to the project.
- Add a new sequence with File -> New -> Sequence…
- Select a suitable preset.
- If you are uploading a 30 fps 1080p video, you could select e.g. AVCHD -> 1080p -> AVCHD 1080p30.
- If you are uploading a 4k video, you could select e.g. Digital SLR (anything else would work too), then go to Settings, then select Custom, then edit Frame size to 3840 × 2160 and click OK.
- Drag your video to your new sequence timeline, and click Keep existing settings when asked This clip does not match the sequence’s settings. Change sequence to match the clip’s settings?
- The video will now appear to be zoomed in a bit. We’ll fix this by rescaling and repositioning it according to the 16:9 aspect ratio.
- Select the video in the timeline.
- Go to Effect Controls.
- Experiment with the Scale and Position values in order to get a proper fit.
- The video now has a 16:9 aspect ratio, and is ready for exporting.
- When exporting to use on YouTube, you can use the format H.264 and e.g. preset YouTube 1080p HD or YouTube 2160p 4K.
